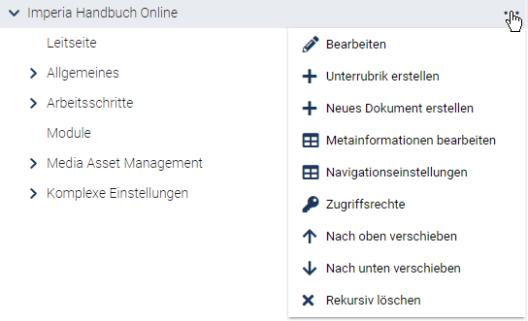
Create categories
You can create new subcategories both via Structure - Rubrics and via the document browser. In both ways, you can click the three dots next to the respective rubric and select "Create rubric" or "Create subcategory".
The most useful way to manage/edit rubrics etc. is via Imperia menu - Structure - Rubrics.
There you can create, delete, sort rubrics, manage access rights and edit the navigation settings.
No matter which way you use to create a rubric, you will always get to an input mask where you can make various settings.
You should enter an appropriate description as the rubric name, but it must not contain quotation marks.
The description can be used for further explanations.
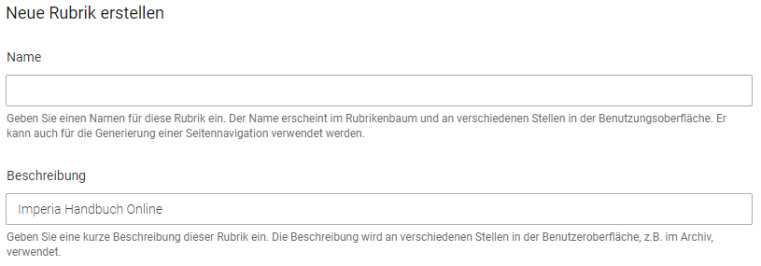
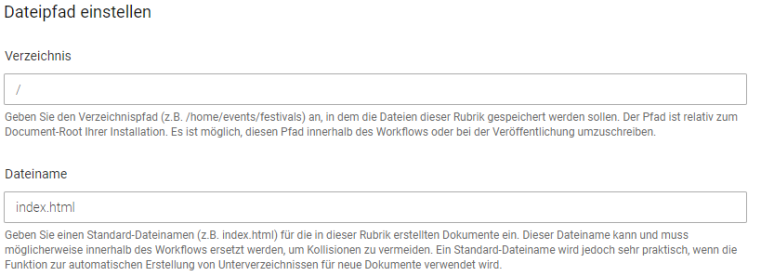
With the path given under directory you determine the URL under which the web page of this rubric is called later.
Attention! In this field you must not enter the base path again, because it will be added automatically during the completion!
It is recommended to build up this path analogous to the rubric structure.
The file name can remain unchanged at this point. It is specified when the document is created.
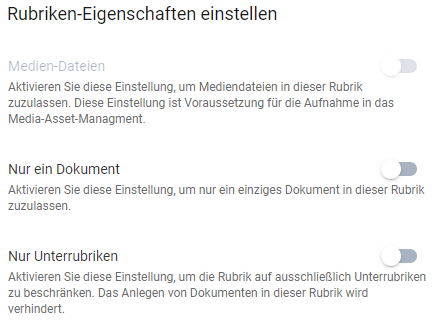
In the rubric properties you can define whether a rubric may contain e.g. only one document or only sub-rubrics and thus no documents.
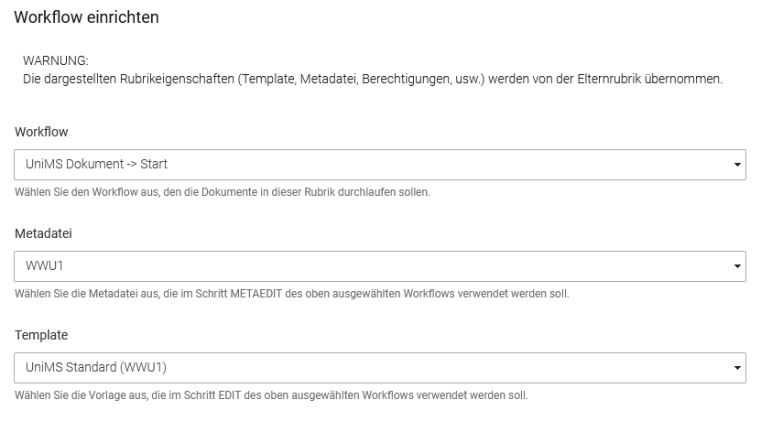
You do not need to change anything in the workflow properties. There is a central meta file (wwu1.meta) and a central template (UniMS Standard) which are used for almost all Münster University pages. These are entered when the main rubric is created and are automatically applied to all subcategories.
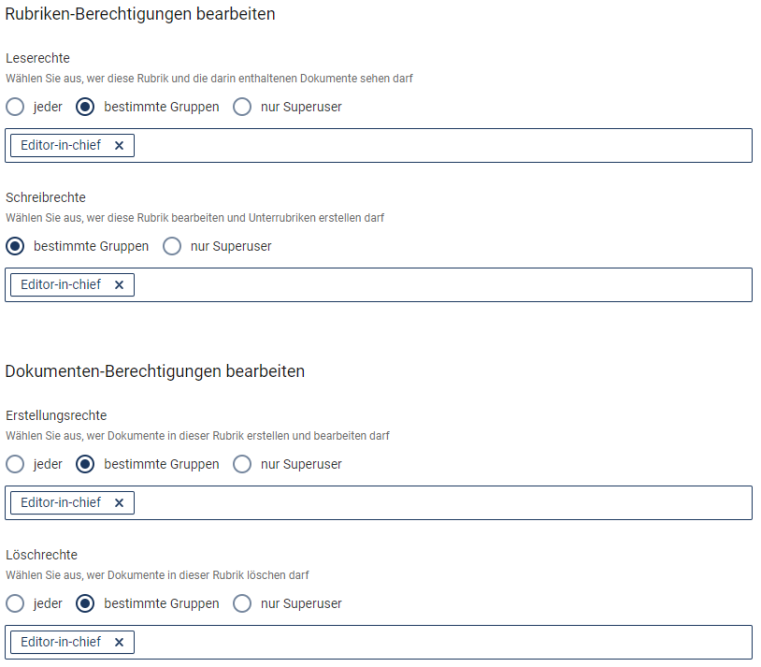
In the lower part of the window the rubric and document permissions are entered. Here you can grant or withdraw read or write permissions for this rubric to other groups.
Of course, you should not delete a group of your own!
You can then complete the creation of the new subcategory by clicking on "Save".
Please note that the confirmation of successful saving appears only after the rubric menu is called up again.

