
Image gallery
The "Image Gallery" module allows you to present a variety of photos, for example from an event, on a web page:
Photos


© Uni MS IT 
© Uni MS IT


To create an image gallery yourself, you should first upload the photos for the gallery to the MAM (Media-Asset-Management) ("Images"). It is important that for each image gallery you create a separate subdirectory in the MAM.

To do this, click on the three dots next to the respective rubric and select "Create rubric". After you have entered a name for the folder and clicked on "Save", the new subdirectory appears in the MAM:
Now you can upload the photos for the image gallery into the new directory.
When you have uploaded all the images, select "Image Gallery" from the modules:
Clicking on the "Add image" link will take you to the MAM. There, go to the corresponding directory for the image gallery and click on one of the thumbnails. This will automatically transfer all images from the directory to the "Image Gallery" module.
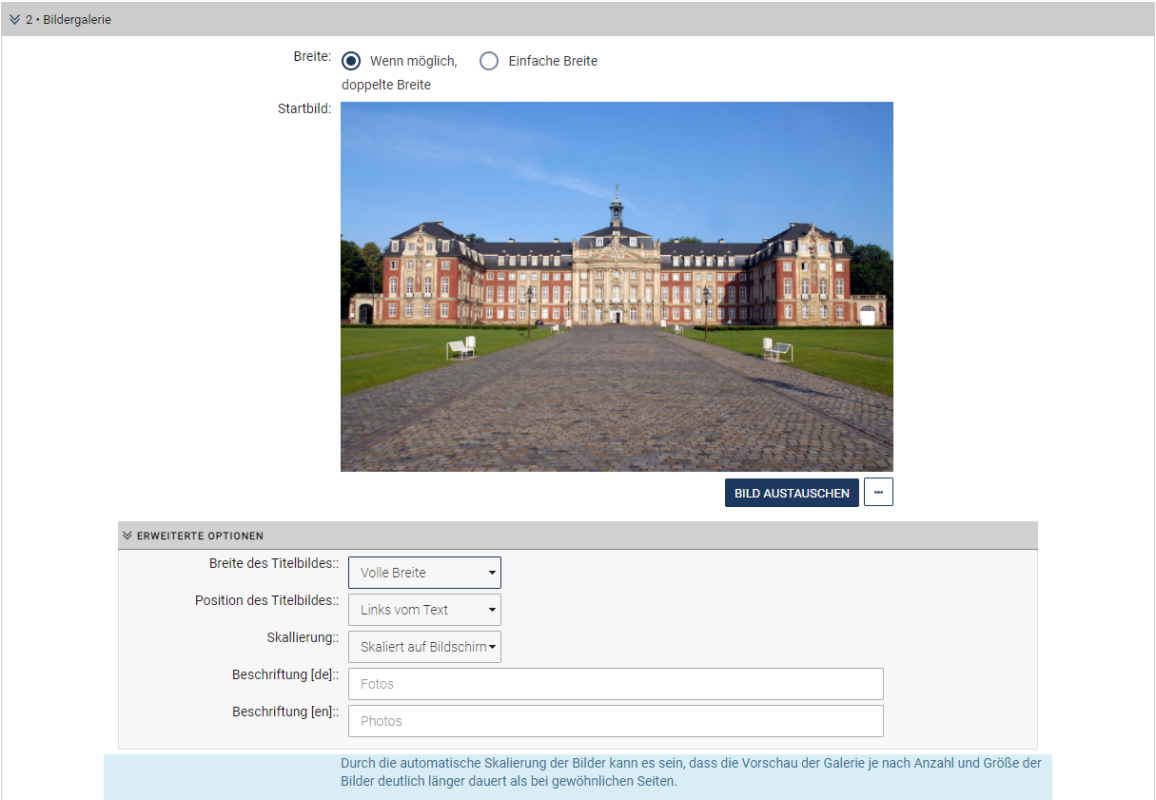
Under "Advanced options" you can choose whether gallery should take half or full width and whether gallery should appear left or right of text. You also have the possibility to enter image lines.
To do this, please use the corresponding input field when uploading the image to the MAM.

You can also insert the image line later by clicking on "Edit" for the corresponding image in the MAM. This will take you to the following view:
When you have made all the additions, "Continue to Asset Actions" will take you back to the MAM.